Sanding & Coating My Floor: What Auckland Homeowners Should Know
Timber floors are built to last for decades, but even the best wooden flooring will eventually show signs of wear. Scratches, dull patches, faded areas, and heavy traffic marks are all common issues we see in Auckland homes.
One of the most common questions homeowners ask is: “Do my floors need sanding and coating?”
In many cases, sanding and refinishing can completely transform tired timber floors. A professional sand and polish timber floor process removes surface damage, restores the natural beauty of the wood, and applies a fresh protective finish that can last for many years.
If you’re considering timber floor sanding and coating, this guide explains what the process involves, when it’s required, and what you should expect from start to finish.
What Sanding and Coating a Timber Floor Involves
Sanding and coating, often referred to as hardwood floor refinishing, is the process of removing the existing surface finish from a timber floor and applying a new protective coating.
Over time, the finish on timber flooring gradually wears down due to daily use. Once that protective layer becomes thin or damaged, the timber underneath becomes more vulnerable to scratches, stains, and moisture.
The sanding process removes:
- Old coatings and sealers
- Surface scratches
- Minor dents and imperfections
- Discolouration and worn areas
- 1. Preparing the floor and surrounding areas
- 2. Multi-stage sanding using professional equipment
- 3. Fine finishing to smooth the timber surface
- 4. Thorough cleaning and dust removal
- 5. Application of a base sealer
- 6. Multiple protective finish coats
When Full Floor Sanding Is Required
Not every floor needs full sanding. In some cases, a maintenance coat may be enough. However, full sanding is usually required when the floor has significant wear or the existing coating has broken down.
Common signs include:
- Deep scratches or heavy wear patterns
- Patchy or worn-through finish
- Grey or faded timber areas
- Previous coatings starting to peel or deteriorate
- Uneven appearance across the floor
In many older Auckland homes, we see floors that have simply reached the end of their finish life.
Sanding allows the entire surface to be reset before applying a fresh protective coating.
If the floor has been coated multiple times in the past, sanding may also be necessary to remove built-up layers and achieve a clean, consistent result.
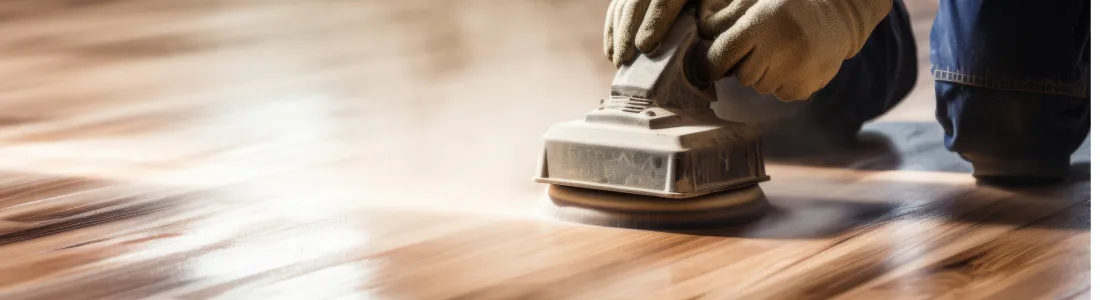
What the Floor Sanding Process Looks Like
Homeowners are often curious about what actually happens during a floor sanding NZ project.
While every job is slightly different, the process usually follows a similar sequence.
1. Preparation
- Removing furniture and rugs
- Checking for protruding nails or fasteners
- Protecting walls and nearby areas
Good preparation helps the sanding process run smoothly.
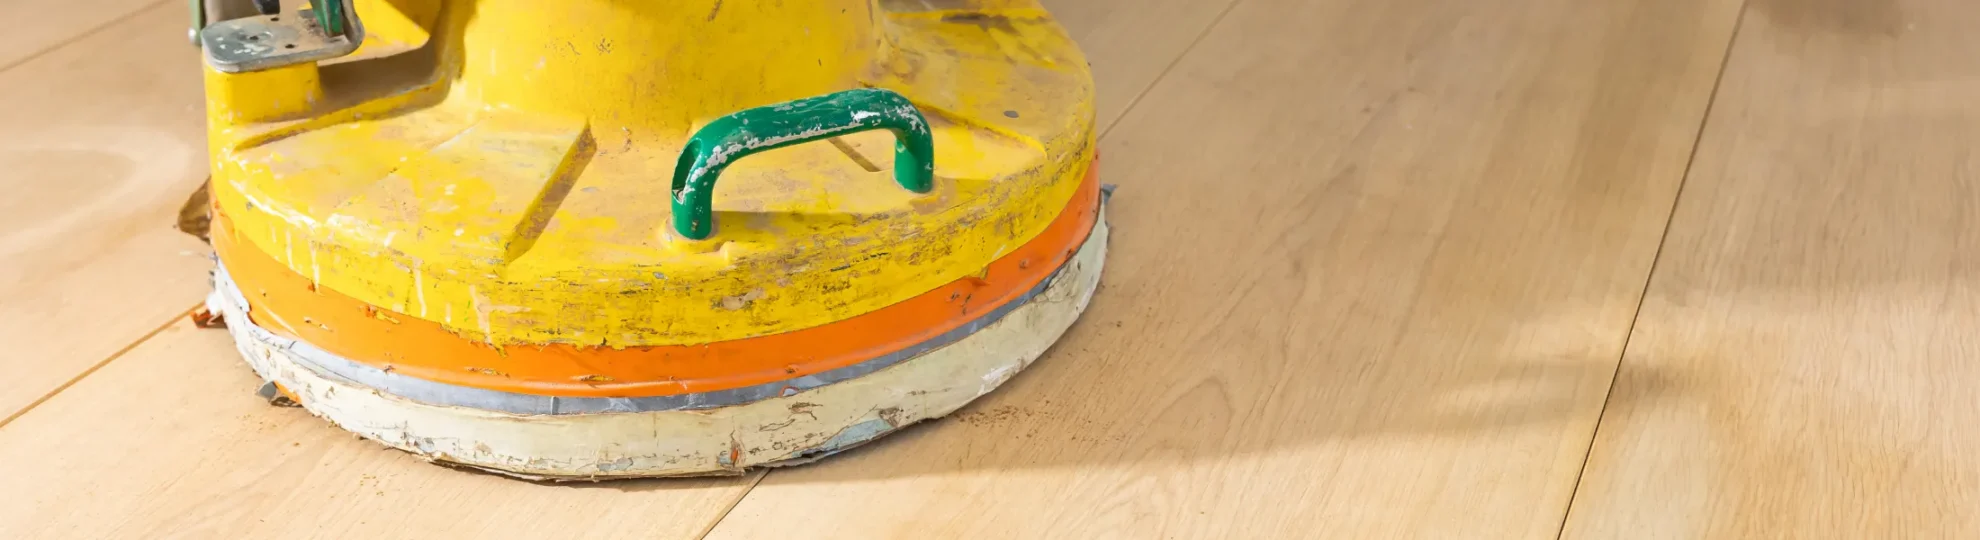
2. Coarse Sanding
3. Progressive Fine Sanding
After the initial sanding pass, finer sanding stages are used to smooth the timber.
This removes sanding marks and prepares the floor for finishing.
4. Edging and Detail Work
5. Cleaning and Dust Removal
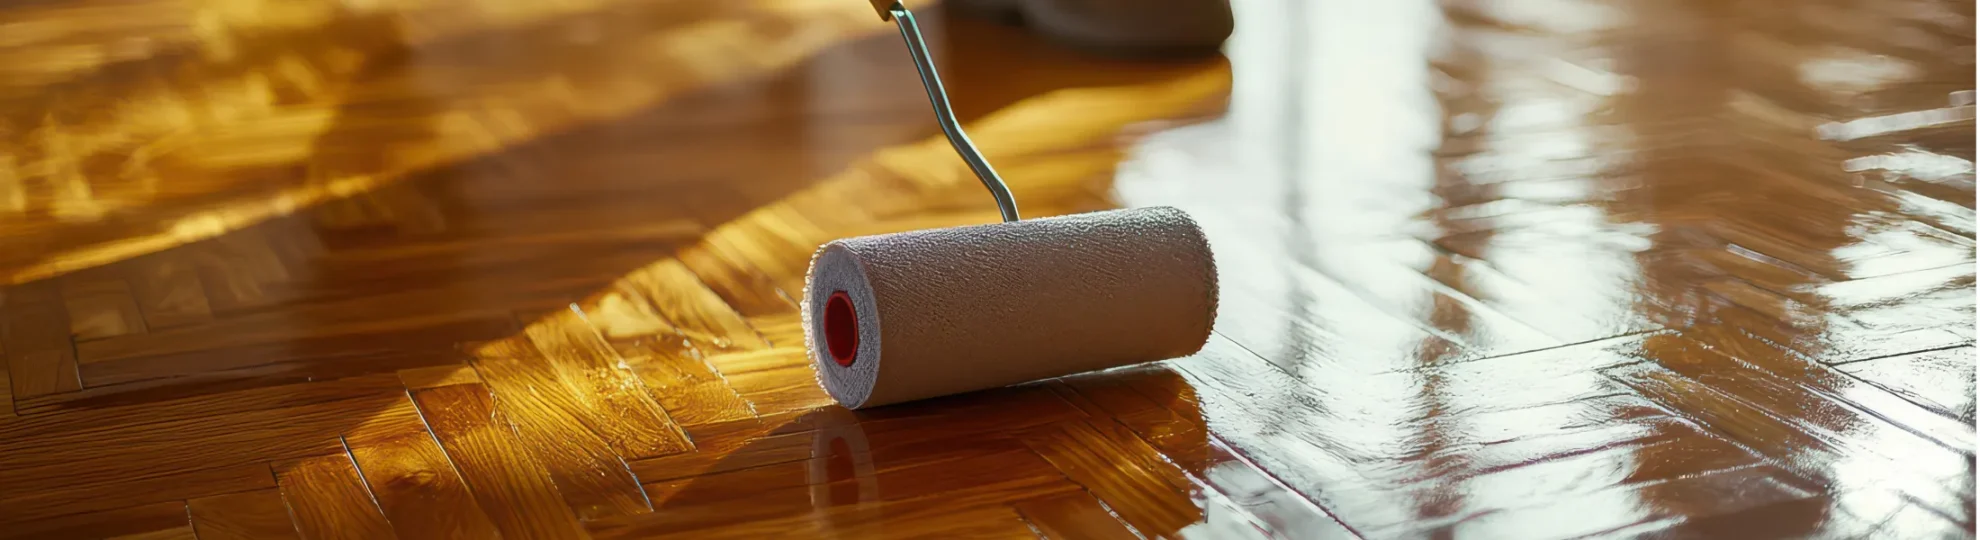
6. Coating Application
The final stage is applying the protective finish.
This typically includes:
- A sealer or base coat
- Two or more protective finish coats
Each coat requires drying time before the next layer is applied.
Timeline Expectations for Sanding and Coating
- Small rooms: 1–2 days
- Average living areas: 2–4 days
- Large or complex projects: 4–5 days
- Light foot traffic is usually possible after 24 hours
- Furniture can often return after 48–72 hours
- The coating continues to cure for several days
Dust Management and Disruption
- Airborne dust
- Noise disruption
- Impact on other areas of the home
Choosing the Right Finish for Your Timber Floor
Once sanding is complete, the coating stage allows you to choose the final look of your floor.
Different finishes create very different visual effects.
Extra Matte Finish
Extra matte finishes are the most popular choice in today’s homes.
They offer:
- Very low reflection
- A natural, understated timber appearance
- The ability to disguise scratches and wear marks effectively
Satin Finish
Gloss Finish
Benefits of Professional Timber Floor Sanding
While some homeowners consider DIY sanding, professional refinishing typically produces much better results.
Professional sanding provides:
Consistent sanding across the entire floor
Correct sanding depth
Over-sanding can damage timber boards. Professionals understand how much material can safely be removed.
Higher-quality coatings
Better visual results
The Bottom Line
Additional Expert Tips Before Refinishing Your Floor
Before scheduling timber floor sanding and coating, it helps to plan ahead.
Here are a few practical tips we often share with homeowners.
- Clear the rooms completely – Furniture must be removed before sanding begins.
- Allow time for curing – Even when the floor looks dry, finishes continue hardening for several days.
- Protect the new finish – Using felt pads under furniture helps prevent scratches.
- Plan sanding near the end of renovations – If other work is being done in the home, sanding should usually be one of the final steps.
These small planning steps can make the process much smoother.
5 Quick Things to Know
- Most timber floors can be sanded and refinished multiple times during their lifespan.
- Professional sanding removes scratches, wear patterns, and worn finishes.
- Modern sanding equipment significantly reduces dust.
- Extra matte and matte finishes are now the most popular options in modern homes.
- A professional sand and polish can extend the life of your timber flooring for many years.
Key Takeaways
- Timber floor sanding and coating restores worn wooden flooring.
- Full sanding is required when finishes are heavily worn or damaged.
- The process involves multi-stage sanding followed by protective coating.
- Modern sanding equipment helps minimise dust and disruption.
- Professional refinishing delivers longer-lasting results than DIY sanding.
Not sure whether your floor needs a maintenance coat or full sanding?
The team at Just Hardwood Floors can inspect your flooring and recommend the best solution based on its condition.
Book a floor assessment or get expert advice on your flooring today.